This is documenting one of our customer's 1965 Ford Mustang, engine installation that grew to include a Vintage Air Air conditioning system. The old 289 in this Mustang had started fouling spark plugs. Over the years we upgraded this car with Edelbrock heads, manifold and Carburetor. We looked at several options for the owner. The best option we found was to have the engine rebuilt by LJ's machine shop here in Napa. This way we could keep the upgraded heads and manifold in use, and have a full warranty on the engine.
After we were finished with the new engine and A/C system install , the owner decided to have us install a Digital dashboard for his car. Since the car goes faster now, the owner decided that our recommendations for disc brakes was appropriate, and gave us the green light to proceed with that also. So we continue to document the changes and upgrades we have done to this Mustang.
After we were finished with the new engine and A/C system install , the owner decided to have us install a Digital dashboard for his car. Since the car goes faster now, the owner decided that our recommendations for disc brakes was appropriate, and gave us the green light to proceed with that also. So we continue to document the changes and upgrades we have done to this Mustang.
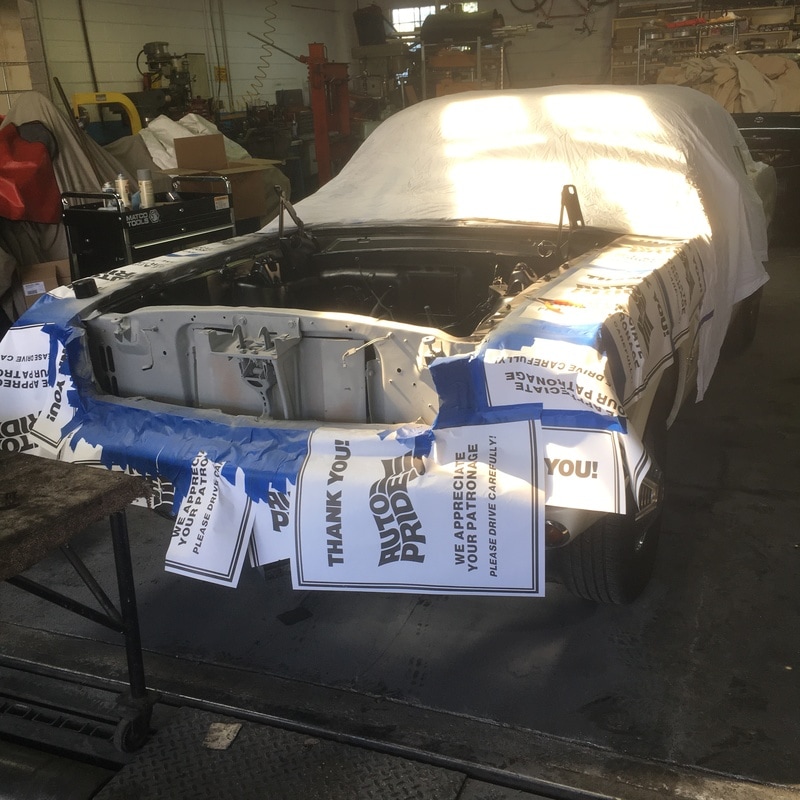
Cleaning up the engine bay and getting it ready for the return of it's engine
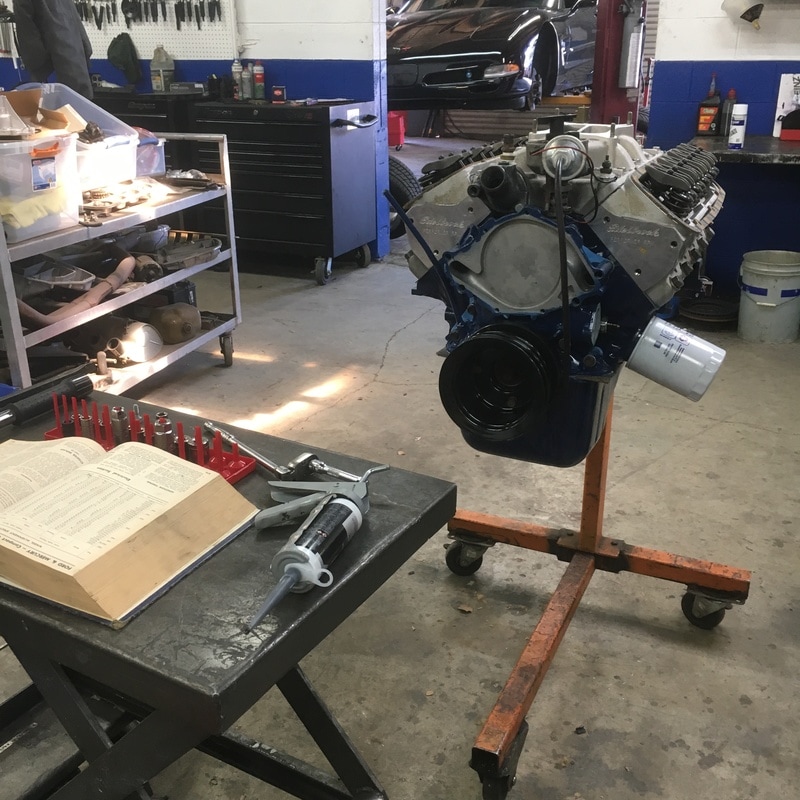
Fresh rebuilt 289 with Edelbrock heads and manifold. Starting to add all the other pieces to the puzzle.
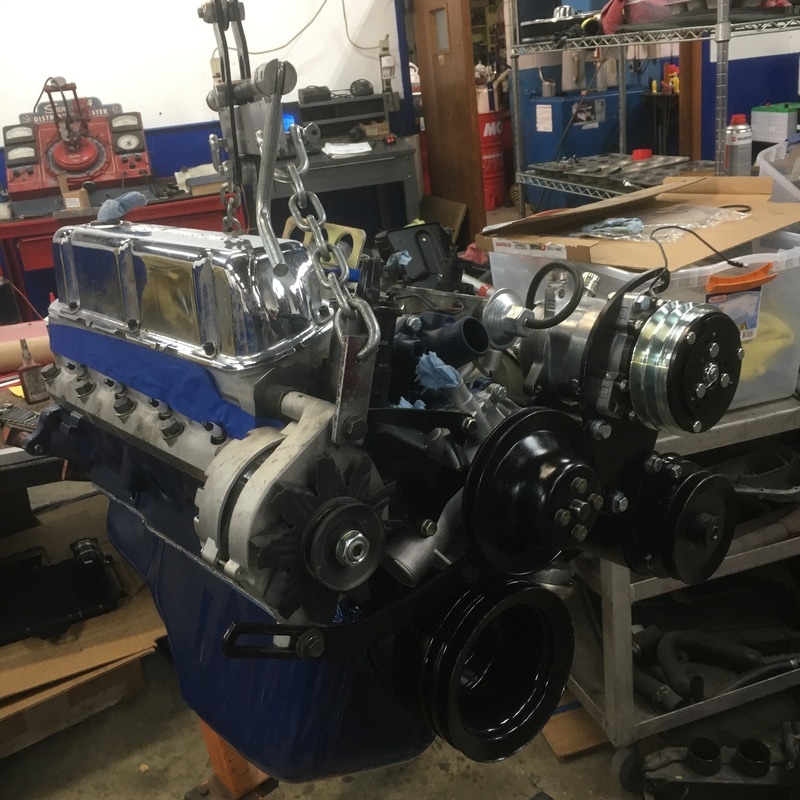
The engine all dressed up ready to go back in. Note the single row pulley on the water pump. We didn't know it at the time but to have both power steering and air conditioning; you will need a custom double row pulley from Vintage Air. The pulley is not part of the conversion kit. To have power steering you will need to purchase an extra bracket from Vintage Air that moves the pump over enough to be able to fit the a/c compressor too.
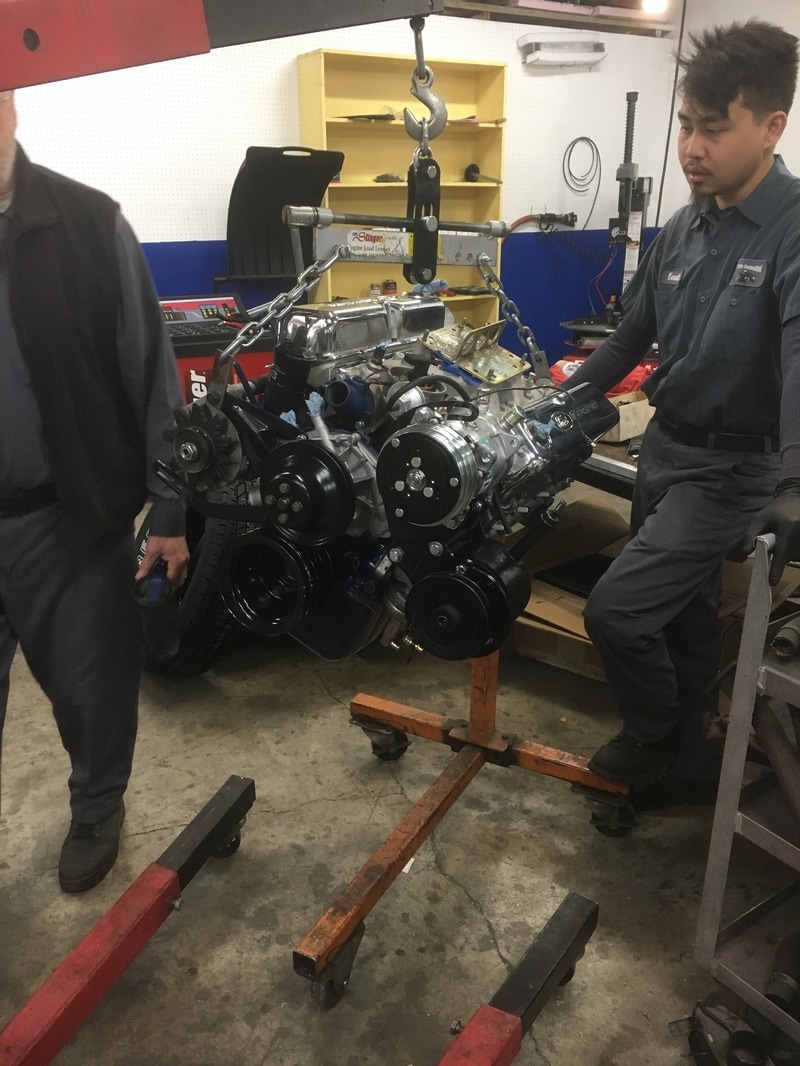
Starting to move the engine over to the car for it's installation!!
One of the first Start Up attempts. Man does it sound nice!!
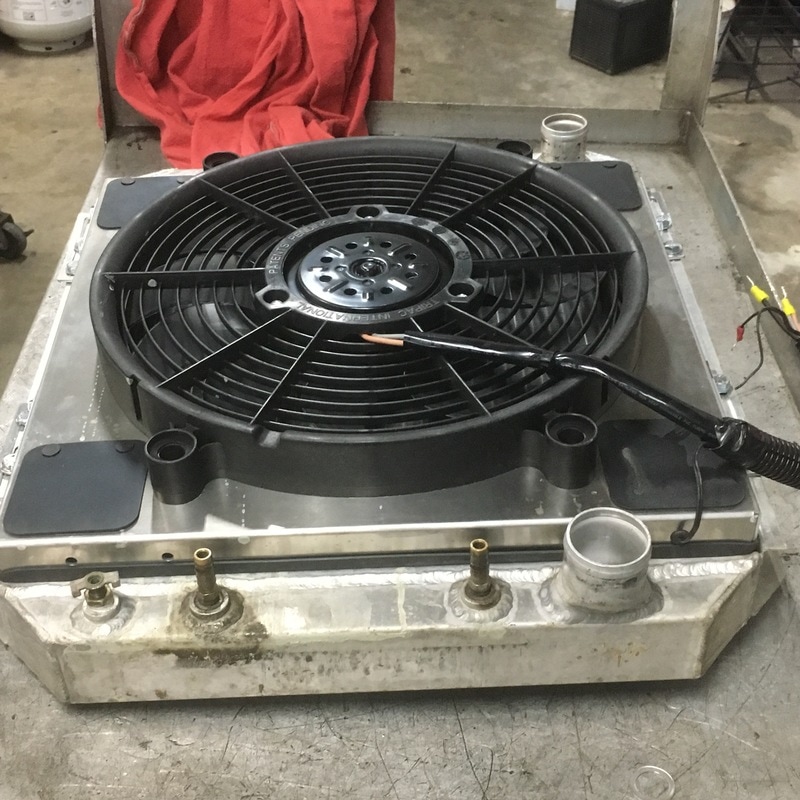
As in all large projects not everything goes to plan. Once we got the engine up and running; we found that the old electric fan had died. In our research we found a company called Derale Performance that has an integrated electric fan and shroud setup for the Ford Mustang radiator we had on hand. It fit's quite nicely. What's nice is that it also has an integrated Controller that gives the setup great temperature control and modern features such as after shut down run on to keep from boiling over.
Some of the parts information that were needed to complete the A/C project on the Mustang that were sometimes not to be found except by trial and error.
The Next Step : Digital Dash
Our customer has been complaining about a noisy instrument cluster; and all the instrument clusters we tried including the " Ford Authorized " replacement cluster. We did some research and found a company called Dakota Digital. The following is the installation of the Dakota Digital instrument cluster in the 1965 Mustang.
As you know, when you are trying to update cars with newer technology, not everything goes as planned. You can see what the original cluster and bezel looks like. The new one and bezel looked pretty cool too! Although it wasn't the look we were going after, it looked like it would work.
Looks like and will are two different things. Once we got the cluster out and tried to mock up the new cluster and bezel; it became very apparent that we got the wrong parts or we were going to have to do some modification to the dash and fab up some brackets for mounting the new cluster in.
So we go back to figuring what went wrong in getting what we wanted, and not making things work just because we have the parts here. The Mustang is a early 1965 Mustang Model; which means a very late 1964 model. We find a mid year change in the dash configuration for the 1965 models. When I spoke to the sales person on the phone , I said I wanted the VHX kit for the 1965 Mustang. You see what we got first time. So I called Dakota Digital to find out what happened in my ordering quest. Since the Mustang we are working on is an EARLY 1965 model, it has the 1964 Ford Falcon/Mustang instrument cluster. So I should of ordered the 1964 VHX kit instead of the 1965 kit.
Once this was worked out, Dakota Digital was great in getting another cluster out to us to install.
So we have started to install this kit and right away, Mike, our senior tech found some issues when installing the transmission speed sensor. First the gear taken off the speedometer cable to be reused on the new sensor would not fit on the sensor. We found the drive adapter about 1/8 of an inch too long so we could not put the gear on the adapter. After a quick consulting call to Dakota Digital we decided to make an "adjustment " to the adapter and the gear fits perfectly now. Next we found the bracket that holds the sensor onto the transmission about 1/8 inch to tall . A little time at the mill and that problem solved. The next issue was the bracket was not allowing the hold down screw to screw into the transmission. A little time spent with a file, and that problem was fixed too.
More to come...
More to come...
.We're moving along and installing all the sensors and wires to talk to the new computer for the dash. Well the guys got the dash installed and wired up while I was away on vacation, and started to install the disc brake conversion install. I'll have a video of the dash in all it's glory when we're done with the brake upgrade, because we don't want to start up the car now that we're working on the brakes.
So we ordered a Willwood disc brake conversion kit from Mustang Depot; as they assured us that the original 14 inch wheels will fit on that setup. As we have installed that kit, the original 14 inch wheels bolted right up no clearance issues. Since we are upgrading to disc brakes we felt it would be safer if we installed a newer style master cylinder with dual reservoirs for the brake fluid. A proportioning valve is needed as we kept the rear brakes stock drum brakes. Two extra parts were used. Part #123300 Union and part #258302 Fitting, were used for the master brake conversion. We felt the union and a new brake line piece was a cleaner way to attach the right front brake line to the proportioning valve; than to try to bend the old line to fit. The Fitting 258302 was needed to adapt the rear brake line fitting to the proportioning valve fitting. These fittings can be found at your local O'Reilly's auto parts store.
More upgrades due to running it Daily.
So we gave back the Mustang to our customer after all this hard work, and he proceeded to drive the car daily and for some longer trips. The car ran great; however it was noticed that the engine temperatures would climb, especially on warmer days. After going through much research it was concluded that adding the A/C system , produced just too much heat for the poor little radiator could handle.
So we found a "Triple" pass aluminum radiator ( Part Number AL051581) setup from U.S. Radiator Corporation for the Mustang. In installing the new radiator; it was wider than the old radiator by several inches. By being larger, we had to modify the Radiator support to accept the larger radiator, and make some new mounting brackets.
One of the the other issues in installing a larger radiator, it was noted that the vehicle battery would have to be relocated or turned sideways to work. We found another solution to the problem, which we believe is much CLEANER. WE found the World Source Battery 85MF, had a better Cold Cranking amperage rating and was much smaller in size. We could modify the battery hold down to accompany the wider radiator with the smaller size battery. Even though the battery was a smaller size it had more "power" than the larger size battery.
Once we got everything plumbed in and got the vehicle running again; we found that the upper radiator hose came very close to the A/C compressor. We made a bracket to hold the hose away from the A/C compressor.
